
Ceiling Fan Installation Guide
How to Install a Ceiling Fan on a Plaster Ceiling: A Safe, Practical Guide
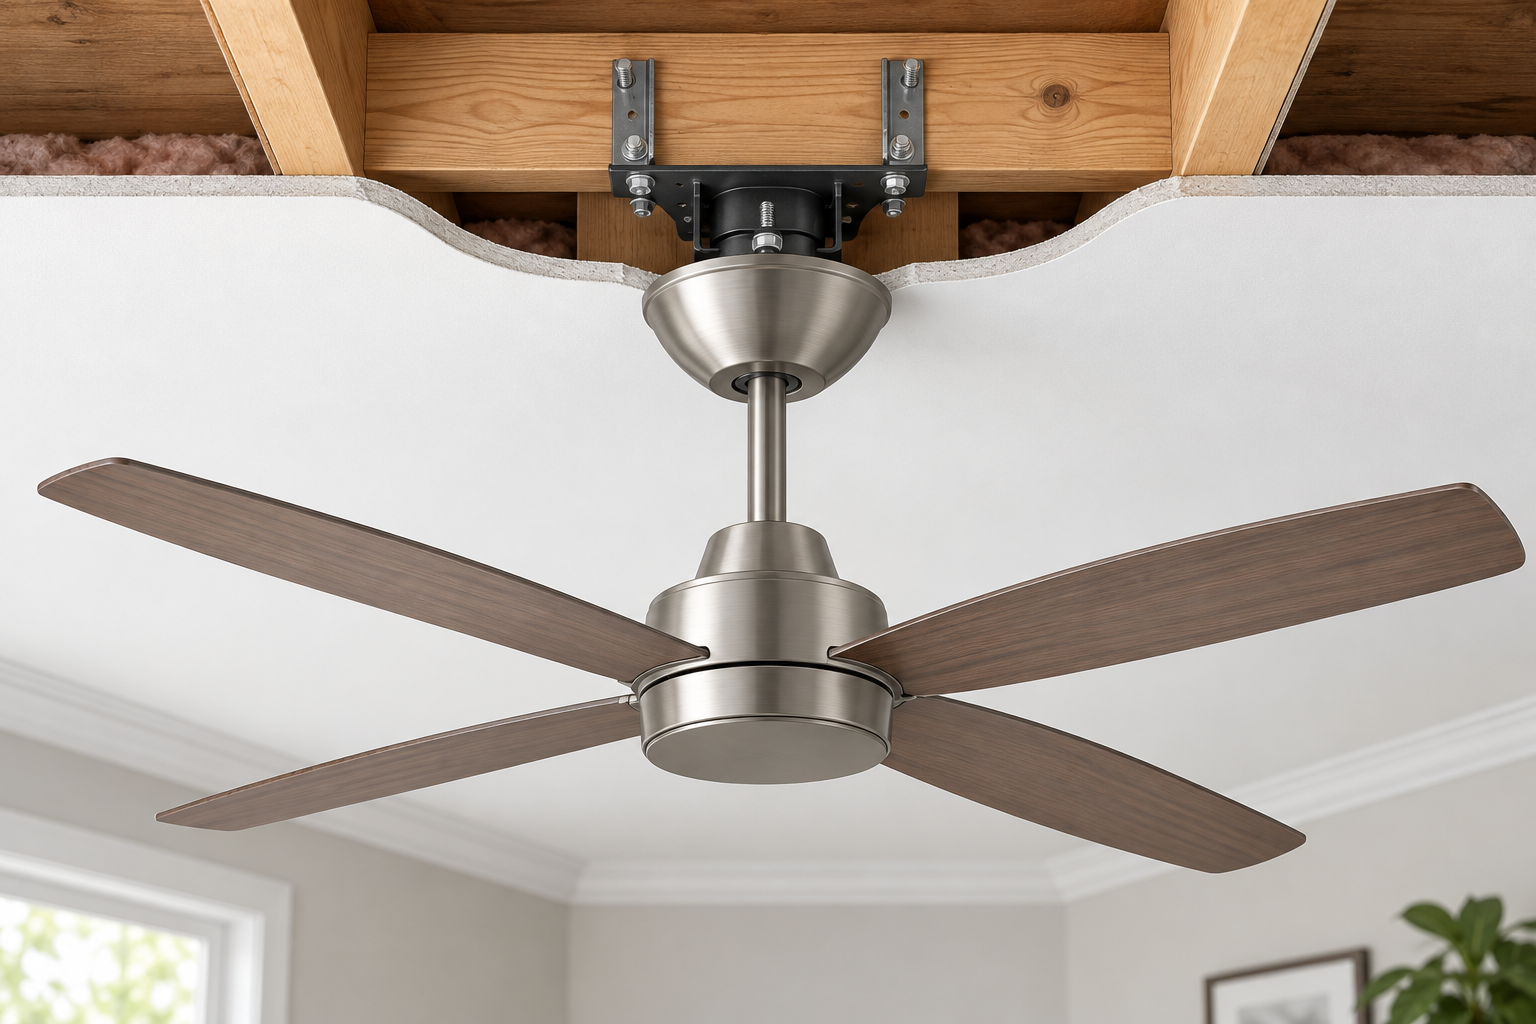
A ceiling fan can sit beneath a plaster ceiling, but it must be supported by suitable framing or another approved structural system above the finish. The visible canopy only conceals the mounting opening; it is not proof that the plaster can carry the fan.
Start by identifying what is behind the ceiling surface. The correct route depends on the ceiling construction, the fan’s instructions, the mounting components, and the electrical rules that apply where you live.
At a Glance
Quick Reference
| Question | Quick Answer |
|---|---|
| Can plaster itself support a ceiling fan? | No. Treat it as a finish, not a support. |
| What supports the fan instead? | Suitable joists, blocking, a compatible brace, or approved concrete support. |
| Can an existing light position be reused? | Only after structural and electrical suitability are verified. |
| Is attic access essential? | No; some compatible retrofit systems work from below, but not in every ceiling. |
| What determines mounting hardware? | The fan manual, ceiling construction, support route, and local requirements. |
| When should installation stop? | When support, wiring, hidden services, or suspect materials are uncertain. |
For a homeowner, the decisive question is not whether a canopy can cover an existing hole. It is whether the proposed fan, its approved mounting components, and the building support form one verified system. When that answer is uncertain, pause before opening the finish or handling wiring. The cost of a careful inspection is usually far lower than repairing a cracked ceiling or correcting an unsafe mount after installation.
Overview
Overview: What Makes a Plaster Ceiling Installation Different?
“Plaster ceiling” is a description of the finished surface, not a complete construction diagnosis. A traditional ceiling may have plaster over timber or metal lath. A newer ceiling may use gypsum board on timber framing, or plasterboard suspended beneath a concrete slab. Each arrangement hides support in a different place.
The finish can be brittle even when the structure is strong. A neat old light fitting, a ceiling medallion, or a metal box does not reveal the load path. Identify the ceiling type first; if its construction is unclear, arrange a qualified inspection before drilling or opening it.
| Ceiling Type | What Is Above the Finish | Main Installation Concern |
|---|---|---|
| Traditional plaster and timber lath | Lath, void, and timber framing | Fragile plaster and finding verified framing |
| Plaster over metal lath | Metal lath and possible framing | Hidden metal and controlled access |
| Plasterboard beneath timber framing | Board, void, and joists | Locating suitable structure |
| Suspended plasterboard below concrete | Void and concrete slab | Approved support to the slab, not the grid |
What This Guide Covers
- Identifying a safe support route.
- Preparing an existing light position.
- Protecting fragile ceiling finishes.
- Understanding electrical and mounting checks.
- Testing the completed installation.
Why the Finish and Structure Must Be Separated
Traditional plaster can be surprisingly hard at the surface while remaining unsuitable for a moving fixture. Its apparent solidity comes from a thin finish supported by lath and framing, not from an engineered fan-mounting point. A fan introduces both weight and motion, so the attachment needs a verified path beyond that surface layer.
Plasterboard can look newer and more regular, yet it has the same basic limitation. Board spans framing; it does not automatically become framing. A screw that feels firm in board may still be carrying only the board, and an ordinary electrical box may only have been selected for a light fixture.
Metal lath deserves its own caution. It can make a location feel substantial and may interfere with locating tools, but it is part of the finish system. Its presence does not establish where joists, concrete, or approved blocking are located, and uncontrolled cutting may create avoidable damage.
A false ceiling below concrete changes the question again. The visible board and its suspension components are not assumed to carry the fan. Instead, the project needs a defined, compatible connection to the structural slab above, evaluated with the ceiling depth, concealed services, and manufacturer requirements in mind.
These distinctions also affect repair planning. A small opening in sound plaster may be manageable, while widespread cracking, loose areas, water staining, or a decorative historic finish can turn the ceiling repair into a separate specialist task. Do not let a desire to avoid repair lead to an unverified mount.
There is no visual shortcut that replaces verification. Even when a previous fixture was in the same spot, the new fan, its chosen configuration, its fasteners, and the ceiling’s present condition may differ. Treat the inspection as a fresh decision based on the current installation, not a promise made by the old fixture.
Main guide
Identify the Ceiling Construction and Hidden Structure
The visible finish cannot tell you whether there is timber, concrete, lath, a service void, or nothing suitable immediately above it. Information from an accessible opening, building plans, attic access, or a careful professional inspection is more useful than guessing from appearance.
Lath, pipes, cables, insulation, and metal components can confuse locating tools. A stud-finder indication is a clue, not proof of a safe fixing point. Stop for qualified help where the ceiling condition, framing, services, or material history remains uncertain.
Confirm Before Proceeding
- Ceiling construction and its condition.
- Location of suitable structural support.
- Cable and pipe routes.
- Available access above or below.
- Potential hazardous materials before disturbing finishes.
Choose a Mounting Method That Transfers Load to the Structure
Think of the load path as fan → approved mounting components → suitable structural support. The plaster opening merely lets the mounting system reach that support. Follow the fan manufacturer’s instructions and use components that are compatible with one another.
| Method | Suitable Situation | What Must Be Verified |
|---|---|---|
| Direct joist fixing | A compatible structural joist is accessible | Joist condition, position, and fan hardware |
| Structural blocking | Blocking can be correctly installed between framing | Design, fixing, enclosure, and compatibility |
| Retrofit brace | Compatible system can engage suitable framing from below | Listing, framing engagement, and box compatibility |
| Concrete-supported system | False ceiling sits beneath a concrete slab | Approved slab support and professional assessment |
Never Use as the Primary Support
- Plaster or plasterboard alone.
- Lath alone or ordinary hollow-wall anchors.
- An unverified light-fixture box.
- An unapproved suspended-ceiling grid or decorative medallion.
Check Whether an Existing Light Fixture Position Can Be Reused
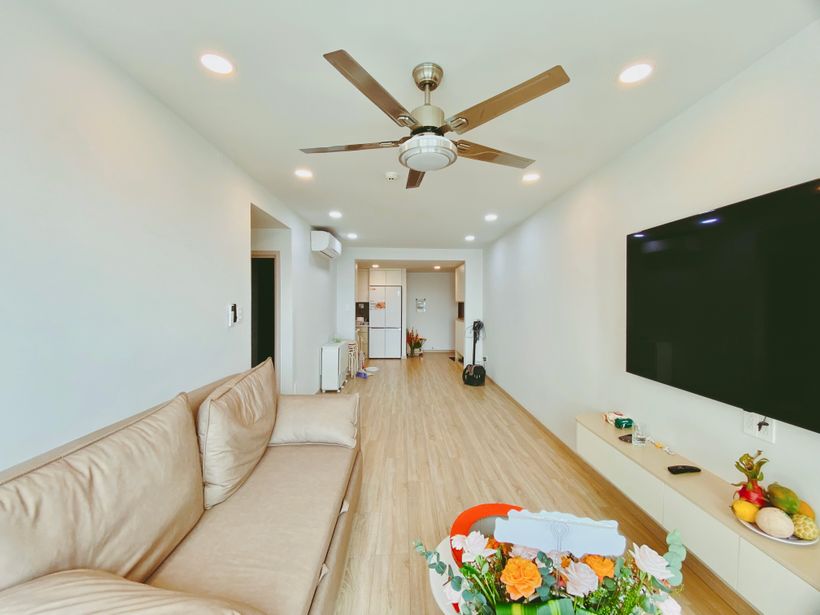
An existing light position is convenient, not automatically fan-ready. Previous use for a light—or even an older fan—does not establish that the enclosure, fasteners, structure, and wiring remain suitable for the new installation.
- Check applicable box listing or marking and product load rating.
- Verify attachment to suitable structure and compatible fasteners.
- Inspect box and wiring condition.
- Confirm room and blade clearances before committing to the location.
Prepare the Tools, Hardware, and Work Area
Prepare for inspection before opening the ceiling. The fan manual identifies its own mounting components; local conditions determine access equipment, test instruments, dust control, and any ceiling repair materials. Cutting tools are conditional on the verified ceiling material and safe access plan.
| Purpose | Examples to plan for |
|---|---|
| Safe access | Stable access equipment and an uncluttered work zone |
| Electrical verification | Suitable test equipment and qualified assistance where needed |
| Inspection | Lighting, measuring tools, and a way to assess hidden conditions |
| Controlled work | Eye protection, furniture covers, dust control, repair materials |
- Protect furniture and floors.
- Keep the area below the opening clear.
- Have the selected fan instructions available.
Isolate the Power and Assess Old Wiring
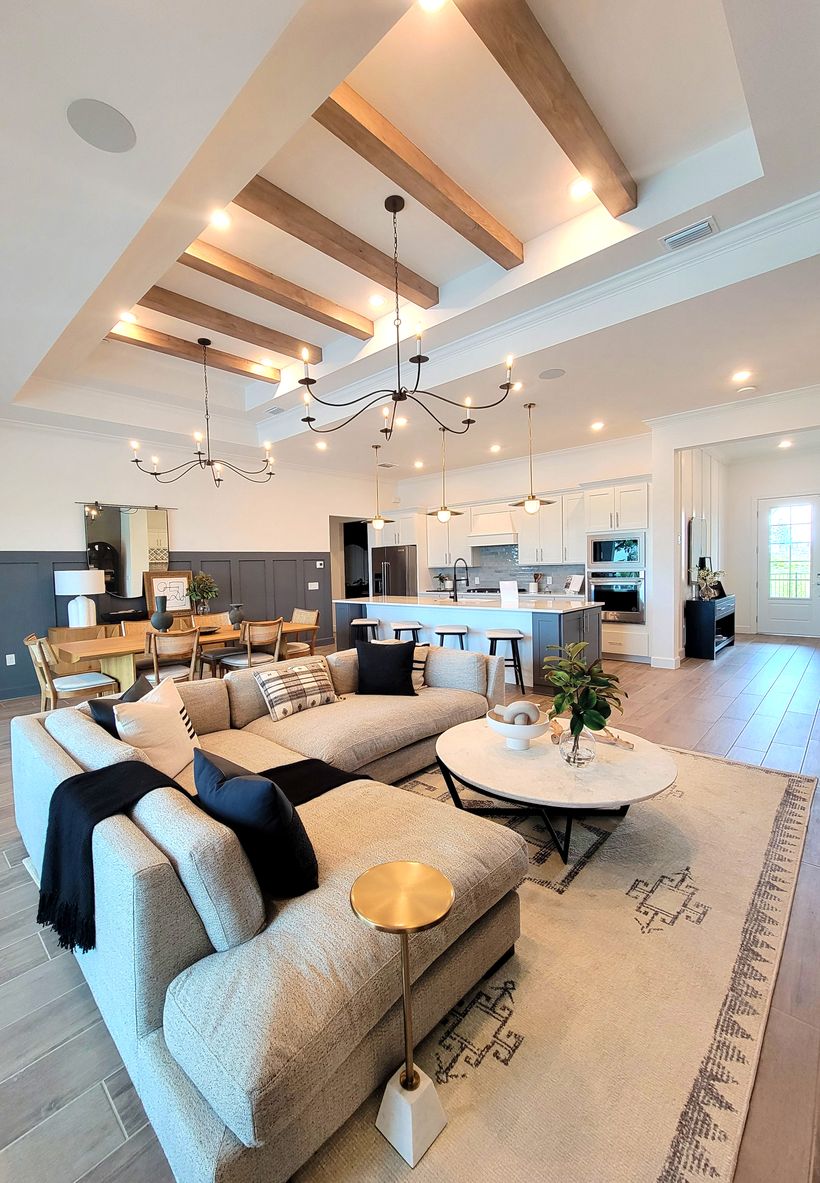
Electrical work begins with planning, not with a wall switch. Identify and isolate the relevant circuit, prevent accidental re-energization, and have absence of voltage verified at the work point using suitable procedures and equipment. A switch can leave parts of a circuit energized.
Inspect the electrical installation before disturbing connections. Do not identify conductors solely by insulation colour, and do not use a light dimmer as a generic fan-speed control. The fan’s instructions, local rules, and the installed control system govern the connection method. Hunter’s installation guidance also directs users to the model-specific manual and applicable electrical requirements.
Stop and Call an Electrician
- Unknown circuit arrangements or unidentified conductors.
- Brittle or damaged insulation.
- Missing or uncertain grounding provisions.
- Signs of overheating or legacy wiring needing assessment.
Open the Plaster Carefully Without Causing Unnecessary Damage
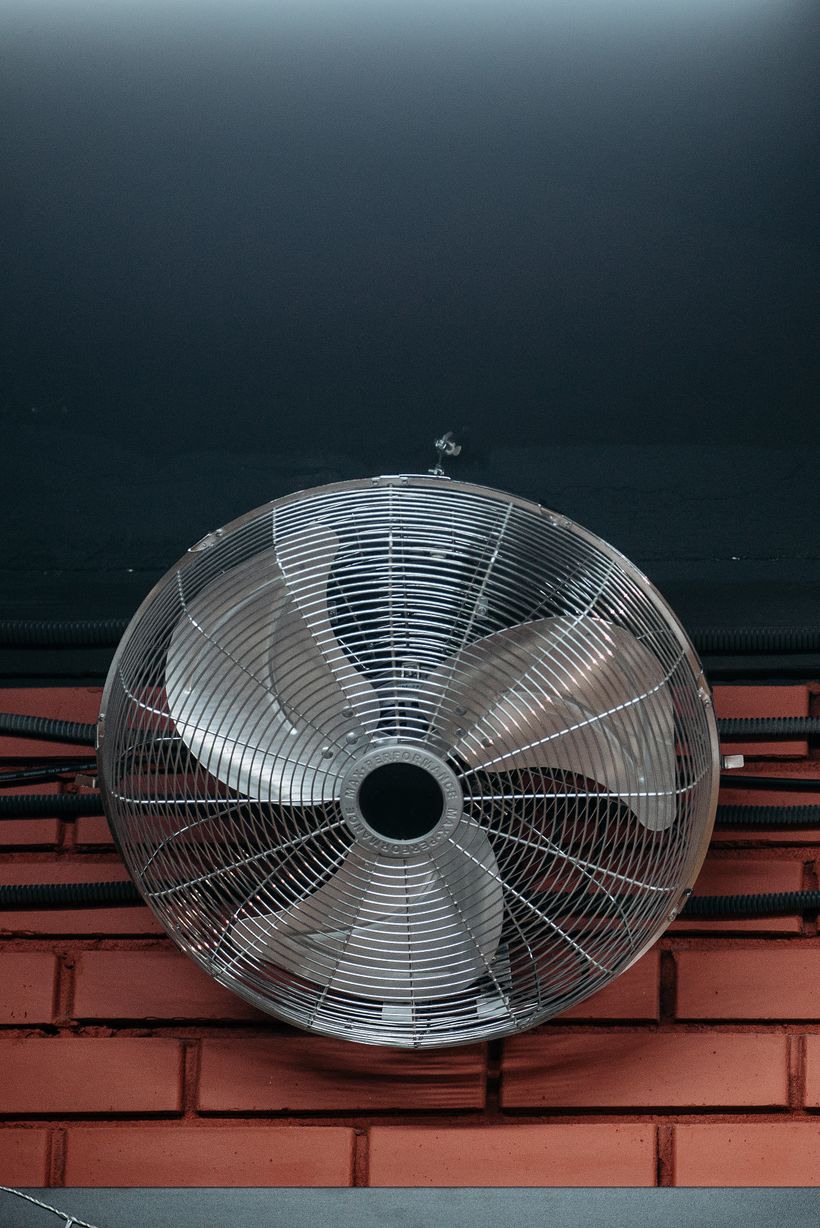
Confirm hidden services before cutting, then work to the opening requirements of the selected mounting product—not to a generic hole size. Plaster can crack beyond the work area when vibration or prying forces travel through an old finish. Support fragile edges and keep cables protected during access work.
Older ceiling materials deserve extra caution. The EPA advises homeowners to seek appropriate information and help before disturbing suspect materials during remodeling; age alone does not prove a material contains asbestos, but uncertainty is a reason to pause. See the EPA remodeling guidance.
| Risk | Why It Matters | Safer Response |
|---|---|---|
| Cracked or detached plaster | Finish can fail beyond the opening | Stop, stabilize, and plan repair |
| Hidden services | Cutting can damage cables or pipes | Verify routes before access |
| Metal lath | Metal can complicate controlled cutting | Use an appropriate verified method |
| Suspect materials | Disturbance can create exposure concerns | Assess before drilling or sanding |
Install the Appropriate Structural Support
Route A: accessible timber framing. Inspect the framing and use a compatible joist-mounted system or approved structural blocking, together with the appropriate electrical enclosure. The opening and finish repair follow the structural decision, not the other way around.
Route B: no access from above. A compatible listed retrofit brace may be designed to engage suitable framing from below. Its engagement with the framing carries the fan load; contact with the plaster while positioning does not turn the plaster into a structural support.
Route C: false ceiling beneath concrete. The fan may require a manufacturer-approved arrangement connected to the slab above. Substrate condition, services, anchor system, and suspended-ceiling components require professional assessment. Do not improvise a concrete-anchor recipe.
Route-Selection Checklist
- Is there verified timber framing at the location?
- Can the selected system engage it safely?
- Is void depth sufficient for the components?
- Does a concrete slab require a separately approved route?
Confirm Fan Height, Blade Clearance, and Mounting Compatibility
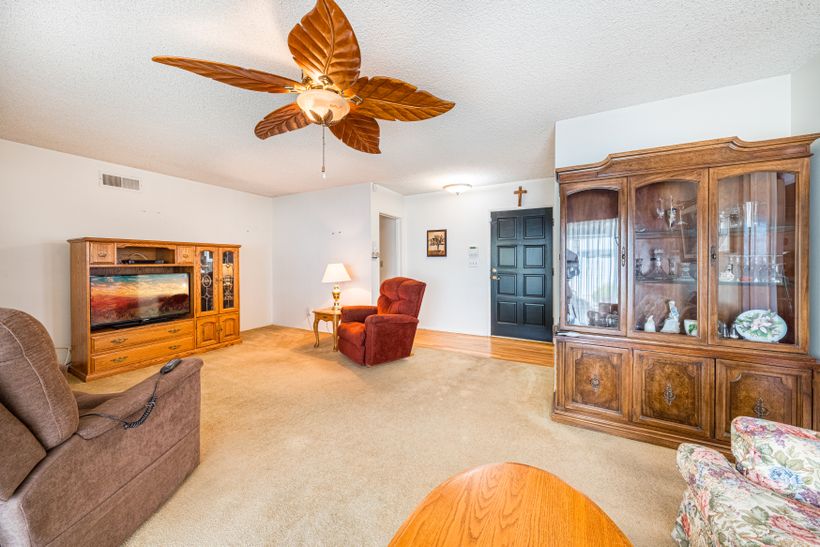
Measure from the finished floor, then check blade tips against walls, doors, furnishings, lights, and other obstacles. False-ceiling depth can change the selected mount and the downrod decision. A low-profile fan is not automatically compatible with a slope, and a downrod option is not universal.
- Check the model manual for clearance and height requirements.
- Confirm downrod, low-profile, and slope compatibility.
- Check nearby lights, sprinklers, doors, and tall furniture.
- Use manufacturer-specific dimensions rather than a universal number.
Mount, Connect, and Assemble the Fan According to Its Manual
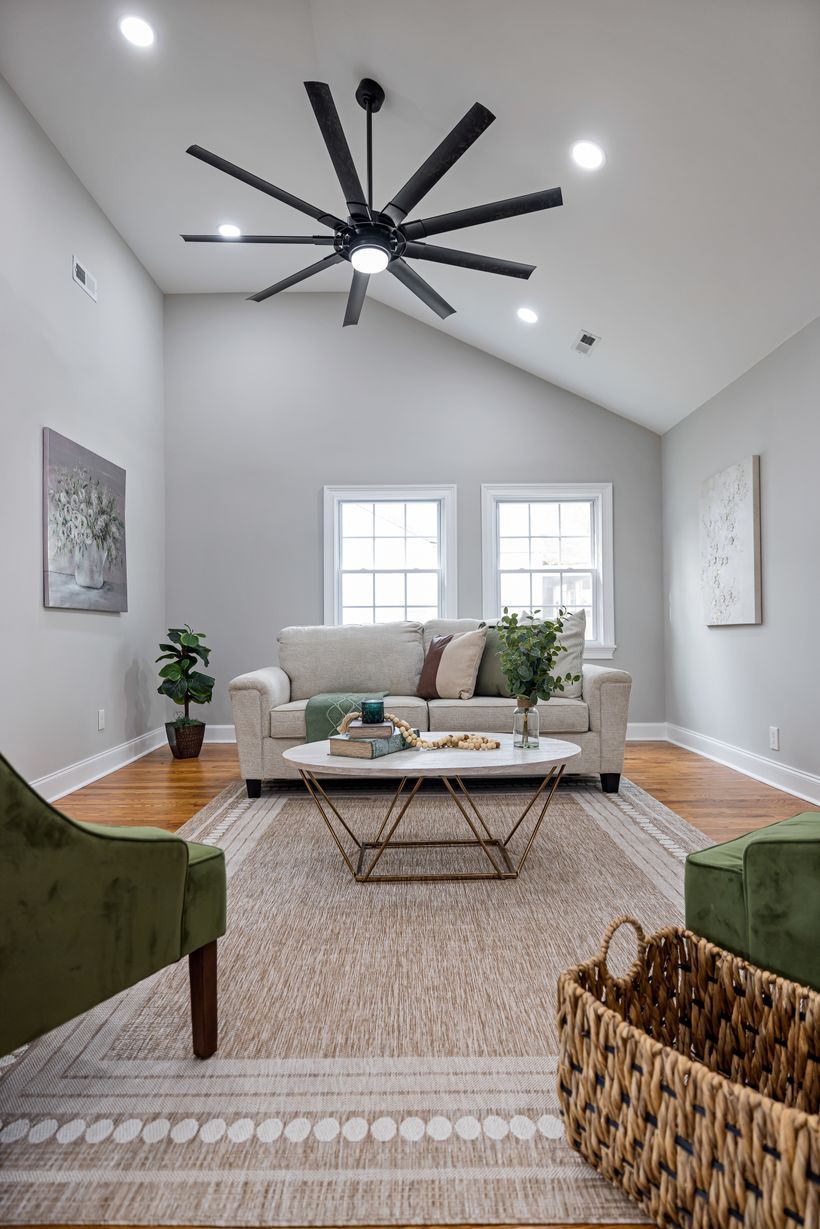
Once support and the electrical enclosure are verified, the fan manual governs the sequence. Manufacturers do not use identical suspension parts, receivers, safety cables, light conductors, or downrod connections. Keep supplied components matched to the selected fan and do not substitute an assembly order from another product.
- Confirm the completed support and enclosure are suitable.
- Attach the compatible bracket with the specified hardware.
- Assemble suspension or low-profile parts as directed.
- Use the approved method to support the fan during connection.
- Have electrical connections completed and checked by a qualified person where required.
- Install canopy, blades, and accessories in the specified sequence.
- Complete the required retention and fastening checks.
Compatibility Check
- Receiver and controller space, if the model uses them.
- Grounding provisions and enclosure space.
- Secure, approved connections and the supplied bracket.
Test the Installation and Investigate Warning Signs
Testing begins only after the mechanical and electrical checks are complete. Watch the canopy and surrounding ceiling while the fan runs through its permitted settings. New movement at the mounting point, cracking, odor, heating, scraping, or unstable operation are warning signs—not finishing details to ignore.
| Symptom | Possible Concern | Recommended Action |
|---|---|---|
| Rocking canopy | Mounting movement | Stop use and arrange inspection |
| New ceiling cracks | Finish or support distress | Stop use and investigate support |
| Abnormal wobble | Assembly or blade issue | Follow the model procedure after support is confirmed |
| Scraping, odor, or heat | Mechanical or electrical fault | Turn off and seek qualified assessment |
| Controller issue | Incompatible control or connection | Check the model-specific instructions |
Blade balancing is not a remedy for loose structural support. The right response to mounting movement or ceiling cracking is to stop the fan and have the installation examined.
Repair the Ceiling and Understand What Affects Project Scope

Repair the finish only after the support route is verified. A medallion can conceal an opening or repair transition, but it is decoration—not reinforcement. Keep required electrical access available and follow the finishing material’s curing instructions before treating the repair as complete.
| Scope Factor | Why It Changes the Work |
|---|---|
| Ceiling construction | Changes access and support options |
| Access from above | May determine joist, blocking, or brace route |
| Existing support and wiring | May need correction or upgrade |
| New location and repairs | Adds routing and finish work |
| Permits or inspection | Depend on applicable local requirements |
Retain the fan manual and periodically inspect the canopy, fasteners, and surrounding finish according to the manufacturer’s maintenance guidance.
Planning Decisions That Avoid Rework
Choose the fan only after the mounting route is understood. A desired blade style, a short canopy, or a decorative medallion cannot solve a structural limitation. If the selected fan and the verified support route do not match, change the product or route before opening more of the ceiling.
Separate the structural decision from the cosmetic decision. It is reasonable to plan a repair patch, cover plate, or medallion, but those items should follow the support design. Doing cosmetic work first can conceal a condition that still needs access, inspection, or correction.
Record what was found at the location. A few photographs taken after isolation and before closing a permitted opening can help a future owner, electrician, or installer understand the support route. Do not photograph or disturb hazardous material solely for documentation; safety comes first.
Keep every supplied component with the fan until the installation is complete. Hardware that looks interchangeable may not be. The mounting bracket, receiver, downrod, retaining device, and accessories are designed as a system, and the product manual explains which items belong together.
Consider future servicing while locating the fan. A neat finish is valuable, but electrical connections and any serviceable equipment need the access required by applicable rules and the product instructions. A repair that blocks required access can create another project later.
Coordinate other ceiling devices before installation. Nearby lighting, alarms, sprinklers, vents, projectors, and doors can change safe clearance or maintenance access. The fan should not be treated as the only item occupying that ceiling zone.
Use uncertainty as a decision point, not an invitation to force progress. Uncertain framing, unexplained stains, loose plaster, unexpected metal, or unusual wiring all justify stopping. A qualified installer may be able to verify the condition with far less risk than repeated exploratory cutting.
When a permit, inspection, landlord approval, or building-management requirement applies, establish it before work begins. These requirements can affect the allowed electrical work, support method, access route, and documentation. They are part of the installation plan rather than an afterthought.
Finally, plan the first operating check before re-energizing. Everyone should be clear of the blades, fasteners should be checked as the manual requires, and the work area should stay protected until stable operation is confirmed. Careful commissioning is the last structural and electrical check, not simply a performance demonstration.
- Verify the construction.
- Select a compatible support route.
- Plan access and electrical work.
- Protect the finish and room.
- Complete the manual-directed assembly.
- Test only after all checks are complete.
FAQ
Frequently Asked Questions
These answers explain the safety boundary. They do not replace a fan manual, a structural assessment, or local electrical requirements.
Can you install a ceiling fan on a plaster ceiling?
Yes, when the fan is mounted to suitable structural support above or behind the finish using compatible approved components. The decision depends on the actual ceiling construction, not on the apparent strength of the plaster surface.
Can plaster or plasterboard hold a ceiling fan by itself?
No. Plaster, plasterboard, lath, and decorative finishes should not be treated as primary fan support. The load needs a verified path to framing, approved blocking, a compatible brace, or an approved structural system.
Do I always need a fan-rated electrical box?
Many installations use a compatible fan-rated box, but manufacturer-approved direct structural mounting arrangements also exist. Required electrical enclosures and local requirements still apply; international mounting systems are not all identical.
Can I replace an existing ceiling light with a fan?
Possibly, but the old light position is only a starting point. Verify the support, enclosure, fasteners, wiring condition, clearances, and fan compatibility before using it for a heavier moving fixture.
Can a ceiling fan be installed without attic access?
Sometimes. A compatible listed retrofit brace may work from below where it can securely engage suitable framing. It is not a universal solution for every lath, void depth, framing arrangement, or suspended ceiling.
How does installation differ on plaster-and-lath ceilings?
Plaster-and-lath ceilings can be fragile and hide irregular voids, lath, services, and framing. Controlled access and a verified structural route matter more than making the smallest possible opening.
What supports a fan below a suspended plasterboard ceiling?
In a ceiling below concrete, the fan may need a manufacturer-approved system connected to the slab. The board and suspended grid are finishes or ceiling components, not assumed fan supports.
Can a decorative medallion reinforce the mounting?
No. A medallion can cover an opening or repair line, but it does not create structural capacity. The mounting must be independently secured before decorative work is added.
What should I do if the fan wobbles or the plaster cracks?
Stop use if the canopy moves, new cracks appear, or warning signs develop. Confirm structural support before considering blade balancing; balancing cannot correct a loose mount or failing ceiling finish.
When should I hire a qualified installer or electrician?
Hire help when structure, ceiling materials, wiring, grounding, local requirements, or access are uncertain. Professional assessment is especially important for concrete-supported systems, suspect materials, damaged wiring, and unexplained ceiling movement.
Summary
Summary: Secure the Structure, Not the Plaster
A sound-looking finish is not the same as a safe fan support. Plan the installation around what the selected fan requires and what the building can safely provide.
The best outcome is often a short pause before work: verify the hidden support, compare it with the model manual, and decide whether the existing location is genuinely suitable. That pause can prevent cosmetic damage, unsafe mounting, and a difficult rework later.
- Identify the ceiling construction.
- Verify a suitable structural load path.
- Use compatible approved mounting components.
- Complete electrical work safely and lawfully.
- Test the installation and respond to warning signs.
The safest installation depends on verified support above the finish, not on the apparent strength of the plaster surface.
Installation question
Ask About Your Ceiling Fan Installation
Describe the ceiling construction, existing fixture, access conditions, and the installation concern. Clear details help frame the right product and mounting discussion.

More from Kajiapu
Related Articles
The current site inventory has one published ceiling-fan guide. These links lead to relevant sections within that real article; separate support-box, wobble, and sloped-ceiling articles are not yet published.
Guide sectionHow to Reverse a Ceiling Fan
Use the model’s intended control method, with power and safe operation in mind.
Guide sectionCommon Direction Mistakes
Practical checks for safe operation, unusual movement, and reliable control use.
 Guide section
Choosing a Fan
Match the fan’s configuration and instructions to the room and ceiling conditions.